Product Launch Monitoring Checklist: What to Watch Before, During, and After Launch Day
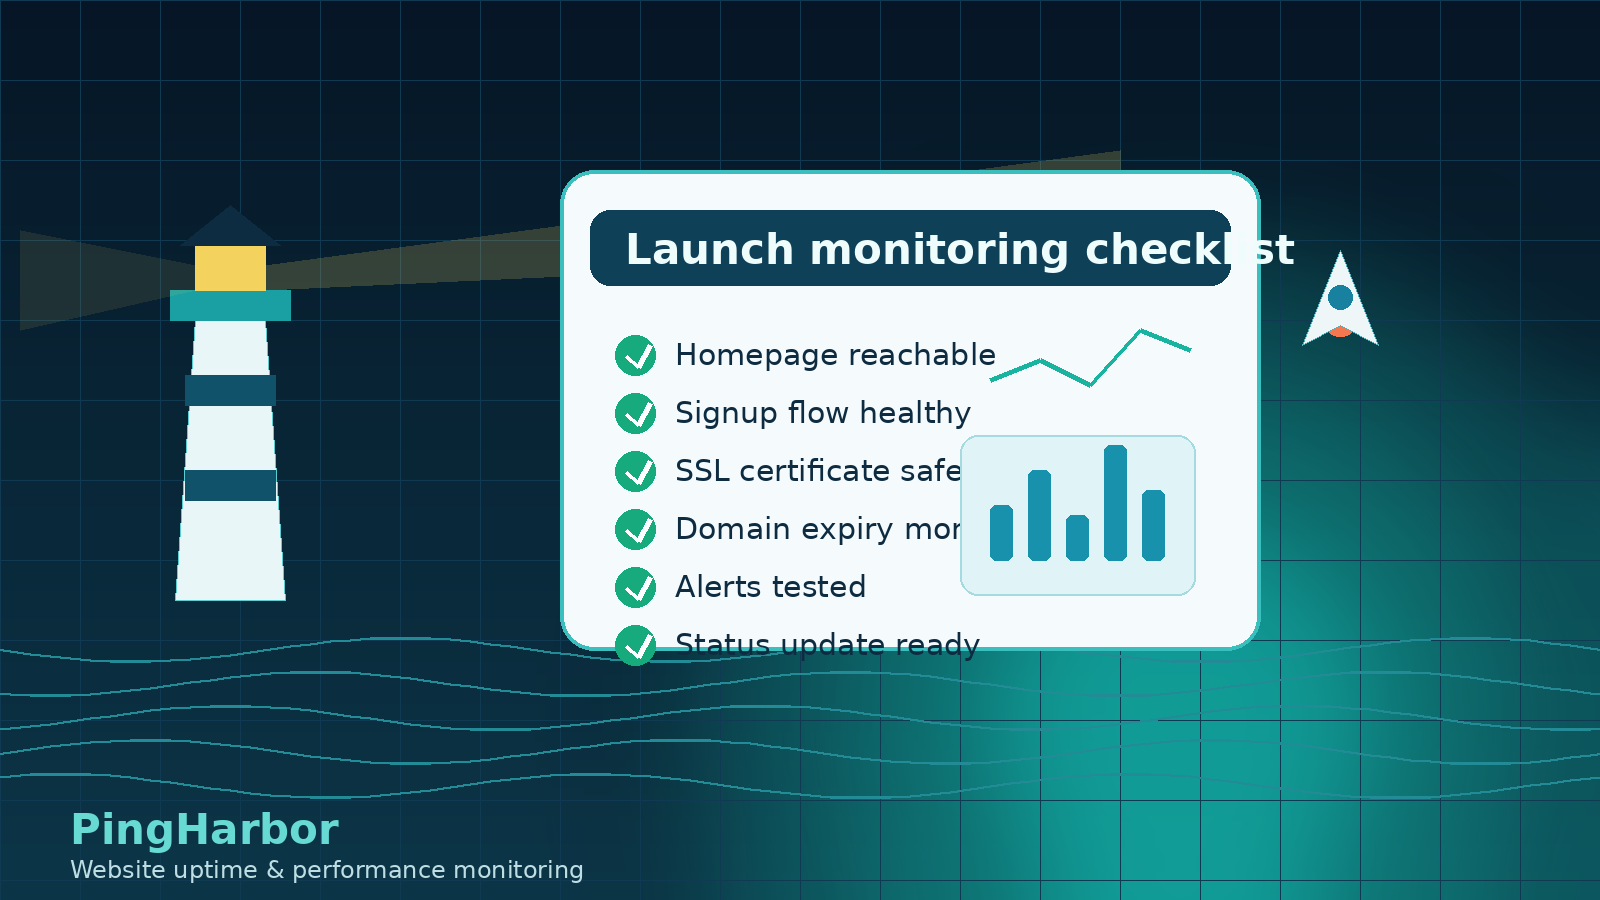
Launch day is not the time to discover that your signup page is failing, your SSL certificate is close to expiry, or your alerts are going to an inbox nobody checks.
A product launch creates a strange reliability problem: you may not have huge traffic yet, but the traffic you do get is unusually important. It can include early customers, Product Hunt visitors, investors, newsletter subscribers, or people seeing your product for the first time.
If something breaks during that window, the issue is not only technical. It becomes a trust problem.
This checklist gives small SaaS teams and startup founders a practical launch-day monitoring setup that is simple enough to configure before launch, but useful enough to catch the problems that usually hurt first impressions.
The short version
Before launch day, monitor these seven things:
Your main marketing website.
Signup, login, and payment-critical endpoints.
SSL certificate expiry.
Domain expiry.
Response time, not only uptime.
Alert channels you will actually notice.
A public status page or incident communication plan.
You do not need an enterprise observability stack to launch safely. You need a small set of checks that answer one question quickly:
Can people discover, trust, and use the product right now?
1. Monitor your main marketing site
Your marketing site is usually the first thing launch visitors see. If it is down, slow, or returning errors, many visitors will never make it to your product.
At minimum, monitor:
the homepage,
the pricing page,
the signup page,
any launch-specific landing page,
documentation or onboarding pages if they are part of the launch flow.
For an early-stage SaaS, the homepage and signup page matter most. If those two paths work, visitors can understand the product and create an account.
If they fail, your launch traffic can disappear before you even know something is wrong.
Practical setup: create a monitor for your main domain and add endpoint checks for the most important pages in the conversion path.
2. Monitor signup, login, and payment-critical endpoints
A website can be “up” while the product is still unusable.
For example:
the homepage loads,
but signup returns a 500 error,
login is stuck behind a broken auth provider,
checkout fails,
an API endpoint times out,
a required script or backend function is unavailable.
That is why launch monitoring should include the paths that prove users can actually start using the product.
For a SaaS launch, consider monitoring:
/author signup page,login route,
API health endpoint,
checkout or billing redirect if relevant,
app dashboard route after authentication, if you have a safe way to check it.
You do not need to monitor every endpoint before launch. Start with the paths that would stop a new user from activating.
Practical setup: choose the 3–5 URLs that represent the launch conversion path and check them separately from the homepage.
3. Check SSL certificate expiry
SSL expiry is one of the most preventable launch-day failures.
It is also one of the most embarrassing. The product may be healthy, the servers may be running, and the database may be fine — but visitors still see a browser warning that tells them not to trust the site.
Before launch, check:
the main domain certificate,
app subdomain certificate,
API subdomain certificate,
docs or status page certificate,
any custom domain used in a campaign.
Do not assume certificates are fine because the site works today. A certificate that expires next week can still hurt a launch if you are planning a campaign, Product Hunt push, newsletter, or customer demo.
Practical setup: add SSL expiry monitoring and set alerts early enough that you can fix the issue before the certificate becomes urgent.
4. Check domain expiry
Domain expiry is less common than a broken endpoint, but the impact can be severe.
If your domain expires, the issue is not just downtime. Email, auth callbacks, API clients, documentation, and payment flows can all be affected depending on how your product is set up.
Before launch, confirm:
the domain renewal date,
auto-renewal status,
payment method status at the registrar,
ownership/contact email,
whether critical subdomains depend on the same domain.
This is especially important for founders managing multiple side projects, product experiments, or client domains.
Practical setup: monitor domain expiry alongside uptime and SSL expiry so it does not live in a separate forgotten checklist.
5. Watch response time, not only uptime
A site can be technically online and still feel broken.
During a launch, response time matters because first-time visitors have no reason to wait. If the site takes too long to load, many people will leave before they understand what you built.
Track response time for:
homepage,
pricing page,
signup page,
API health endpoint,
any launch-specific landing page.
You are not looking for perfect performance metrics on day one. You are looking for obvious problems:
sudden response time spikes,
one region consistently slower than others,
timeouts under launch traffic,
pages that become slow after a deploy.
Practical setup: use monitoring that records response time, not just up/down status.
6. Set alerts where you will actually see them
A monitoring setup is only useful if alerts reach the right person quickly.
Before launch day, decide where alerts should go:
email,
SMS,
Slack,
Discord,
webhook,
another notification workflow your team already uses.
For very small teams, the best alert channel is often the one the founder will definitely notice. That may be email for some teams and SMS or Slack for others.
Also decide what should happen when an alert fires:
Who checks the issue first?
Who communicates externally if needed?
Where do you write down what happened?
When do you declare the incident resolved?
If you do not decide this in advance, every incident starts with confusion.
Practical setup: send a test alert before launch day. Do not wait for the first real incident to learn that notifications are misconfigured.
7. Prepare a public status page or incident note
You may not need a public status page on day one, but you do need a communication plan.
When users cannot access your product, silence makes the problem feel worse. A short, honest update is often better than waiting until everything is fixed.
A simple incident update can include:
what is affected,
when it started,
what you are checking,
what users can do in the meantime,
when you will post the next update.
For teams with paying customers, a public status page becomes more important. It gives users a place to check before opening a support ticket and shows that you take reliability seriously.
Practical setup: prepare a short incident update template before launch. If you already have customers or trial users, consider setting up a status page before your next major launch.
8. Monitor from more than one region
One location can lie.
A monitoring check from a single region may say your site is down because of a local network issue. Or it may say your site is fine while users in another region are struggling.
Multi-region monitoring helps reduce false confidence and false alarms.
For launch day, it can help answer:
Is the issue global or regional?
Are only some users affected?
Is a CDN, DNS, or routing issue involved?
Did a deploy affect response time differently across regions?
You do not need to overcomplicate this. The goal is not to build a full network operations center. The goal is to avoid making decisions from one narrow signal.
Practical setup: if your audience is international, use checks from multiple regions for your most important pages.
9. Keep a simple incident log
After a launch, you will forget details quickly.
If something breaks, write down:
what happened,
when you noticed,
how users were affected,
what fixed it,
what alert worked or failed,
what you should change before the next launch.
This does not need to be a formal postmortem. A simple note is enough.
The goal is to turn launch stress into operational learning.
A simple launch monitoring checklist
Use this before your next launch:
☐ Homepage is monitored.
☐ Pricing or main conversion page is monitored.
☐ Signup page is monitored.
☐ Login/auth path is monitored if relevant.
☐ API or health endpoint is monitored.
☐ SSL expiry monitoring is active.
☐ Domain expiry monitoring is active.
☐ Response time is tracked.
☐ Alerts go to a channel you will notice.
☐ Test alert was sent successfully.
☐ Incident note template is ready.
☐ Status page or user communication plan exists.
☐ Post-launch review is scheduled.
Where PingHarbor fits
PingHarbor is built for this kind of practical monitoring workflow.
You can start with a free plan to monitor your most important website, then upgrade when you need faster checks, more monitors, SMS alerts, advanced analytics, and a custom status page.
For a launch, the most important step is not building a complicated reliability system. It is making sure you know when the user-facing basics break.
If you are preparing for a launch, start by monitoring the paths that matter most:
homepage,
signup,
key endpoints,
SSL certificate,
domain expiry,
response time.
Start monitoring your launch for free with PingHarbor: https://pingharbor.com/auth?tab=signup